Remodeling a bathroom can feel like a big task, especially if you are not sure where to begin. Whether you are aiming for a sleek, modern look or want to refresh your space, understanding how to remodel a bathroom step by step can make the process much smoother. Your bathroom is more than just a functional area—it is where you start and end your day, so it deserves careful planning and attention. From choosing the right materials to managing your budget, each decision plays a part in creating a practical and stylish space.
This guide will walk you through everything you need to know, from assessing your current bathroom’s layout to finalizing those finishing touches. Remodeling might seem daunting, but with the right approach, it can also be an exciting opportunity to transform your space into something you will love. Let’s dive into the essentials so you can get started confidently, equipped with the tools and tips to bring your vision to life.
Step-by-Step Guide to a Successful Bathroom Renovation
Embarking on a bathroom remodel is both exciting and challenging. This space is more than functional—it is where you start and end your day, making it worth the investment of time and effort. Whether you are tackling this project DIY-style or working with a professional, having a clear step-by-step guide ensures everything goes smoothly.
Let’s walk through the essential steps to remodel your bathroom efficiently and effectively.
Step 1: Focus on the Wet Area First
The wet area—your shower, tub, or both—is the heart of your bathroom and the most susceptible to moisture-related issues. Because this space endures daily exposure to water, it is essential to address it first during your remodel. Prioritizing the wet area ensures you tackle hidden problems like water damage, mold, or outdated plumbing before moving on to cosmetic upgrades. Skipping this step can lead to costly repairs later, compromising the success of your project.
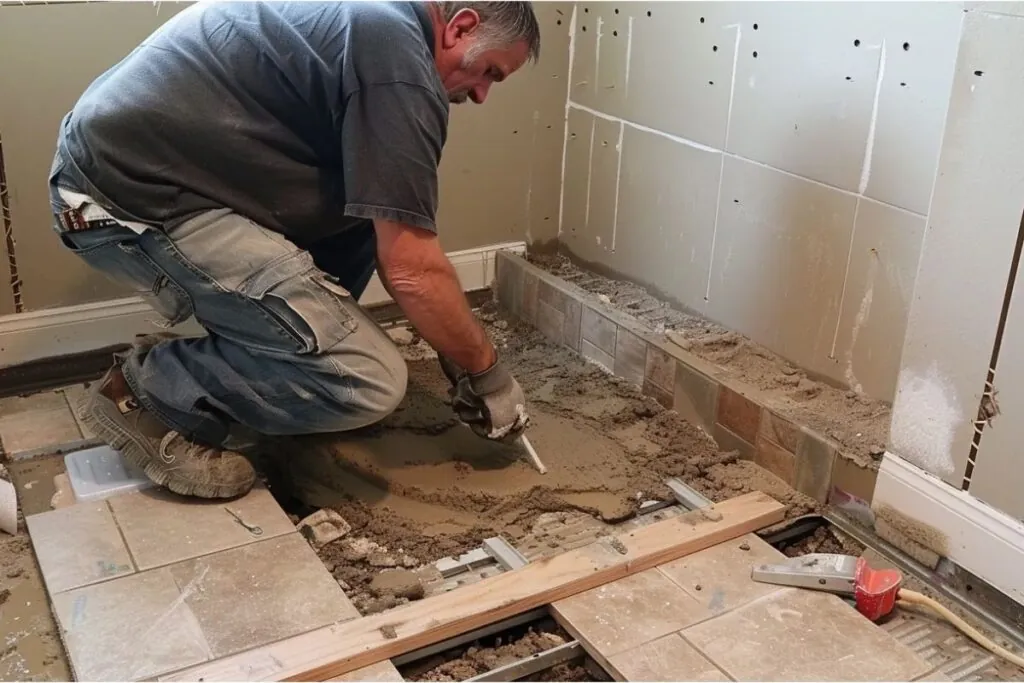
Begin by thoroughly inspecting for signs of leaks, mildew, or structural issues. These can indicate underlying damage that needs immediate attention. Upgrading to water-efficient fixtures, such as low-flow showerheads or eco-friendly tubs, saves on utility costs and enhances functionality. Additionally, evaluate the plumbing system; outdated pipes can lead to inefficiencies and should be replaced with modern, durable materials to prevent future problems.
Step 2: Update Your Plumbing Systems
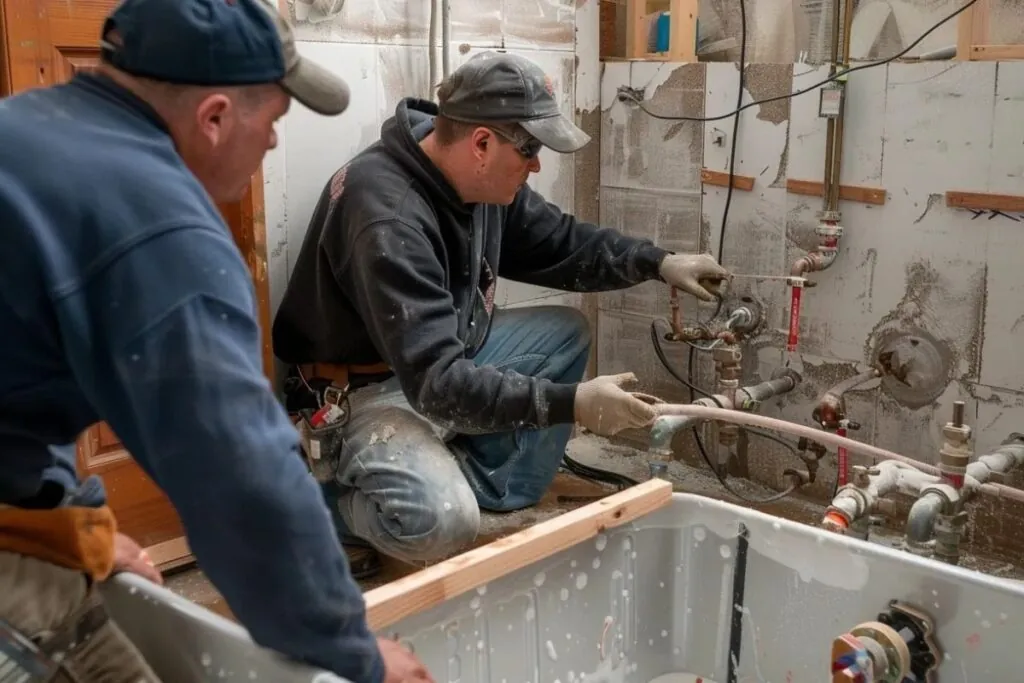
Updating your plumbing is crucial when remodeling a bathroom, especially if adding new fixtures like a modern showerhead, sink, or toilet. Old plumbing systems may not support these upgrades, leading to leaks or reduced functionality. Replacing outdated pipes with durable materials ensures your remodel lasts and prevents future water issues.
Proper adjustments during this phase help align your plumbing with your new layout, ensuring everything works seamlessly. This is the time to address any inefficiencies or blockages, giving you peace of mind and a fully functional bathroom ready for daily use.
Step 3: Install the Tub or Shower Base
Selecting a durable and stylish tub or shower base is key to balancing functionality and aesthetics in your remodel. Look for materials like acrylic or porcelain for long-lasting performance and designs that fit your space and style. An adequately installed base ensures water flows correctly and prevents leaks or drainage issues.
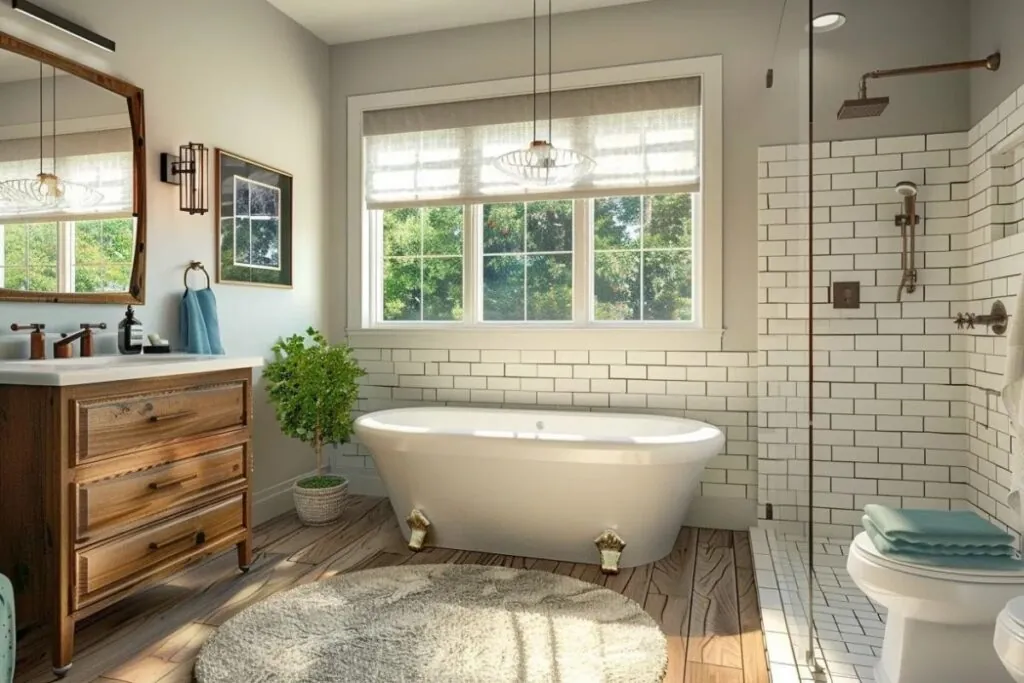
Ensure the base is level and securely sealed during installation to avoid shifting or water damage. Waterproof membranes or barriers add extra protection, giving you a reliable and visually appealing foundation for your new shower or tub.
Step 4: Finishing the Shower or Tub Walls
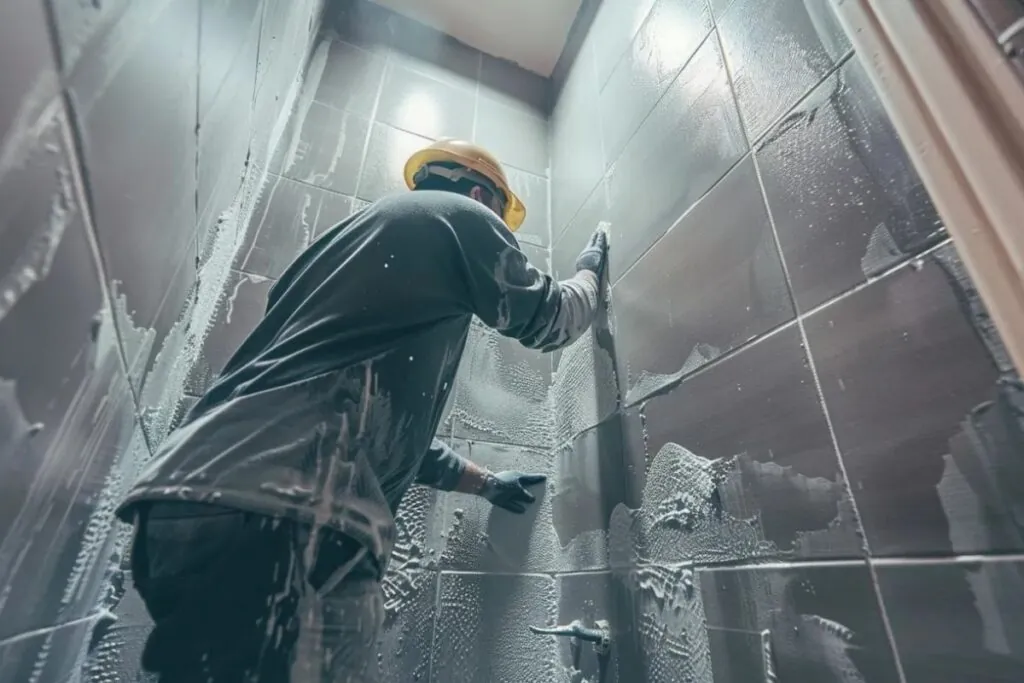
When it comes to shower or tub walls, choosing between acrylic panels and tiles depends on your priorities. Acrylic panels are cost-effective, easy to install, and require minimal maintenance, making them perfect for a sleek, low-maintenance bathroom. On the other hand, tiles offer endless customization options and a luxurious finish but may require more upkeep due to grout cleaning.
Durability is key, so invest in high-quality materials to ensure the walls can handle daily moisture and wear. Waterproof backer boards and proper sealing are essential to prevent leaks and long-term damage.
The wall finish plays a significant role in tying your bathroom’s style together. Whether you go for modern acrylic panels or classic tiles, aim for a cohesive design that complements the rest of your space. A well-finished wall adds both functionality and visual appeal to your remodel.
Step 5: Laying Down the Bathroom Flooring
Flooring comes after completing the wet area to ensure a clean and accurate installation without damage from earlier work. Starting at this stage allows you to seal and secure flooring edges around the shower or tub for a watertight finish.
Choose durable, water-resistant materials like ceramic tiles, vinyl planks, or natural stone. These options withstand constant moisture and are easy to clean, making them ideal for bathrooms. Avoid wood or porous materials that can warp or absorb water over time.
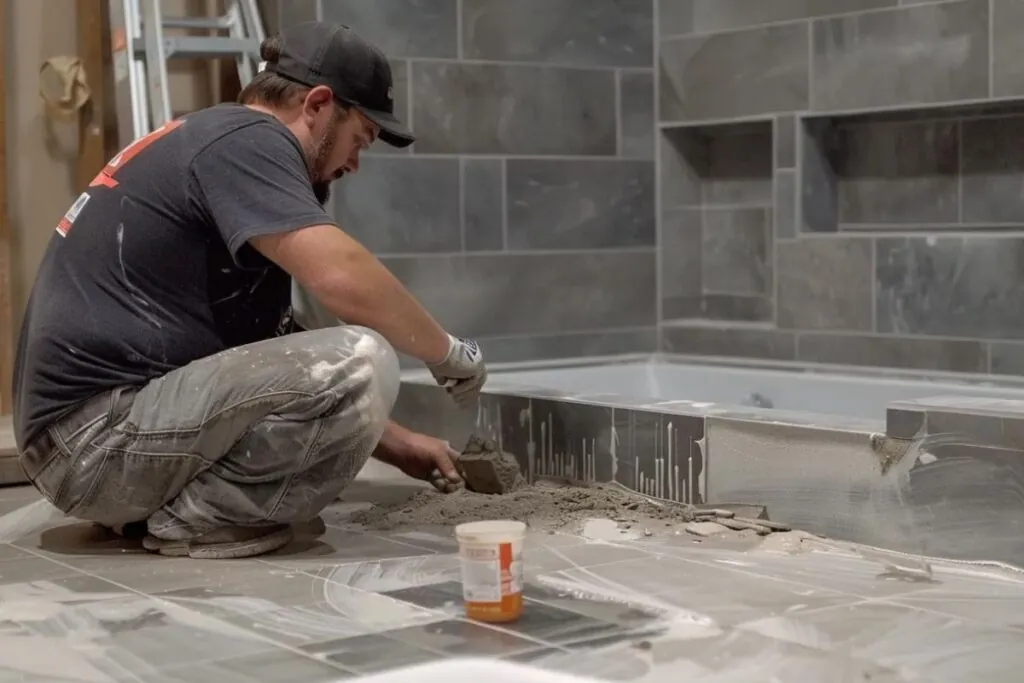
Focus on slip resistance for safety, especially in a high-traffic area like the bathroom. Properly installed, high-quality flooring adds to the room’s style and ensures longevity and functionality for years to come.
Step 6: Install the New Toilet and Vanity
Installing the toilet and vanity brings your bathroom remodel closer to completion. Begin with the toilet by securing the wax ring in place and carefully aligning it with the drain. Tighten the bolts evenly to prevent wobbling, ensuring a stable and leak-free connection.
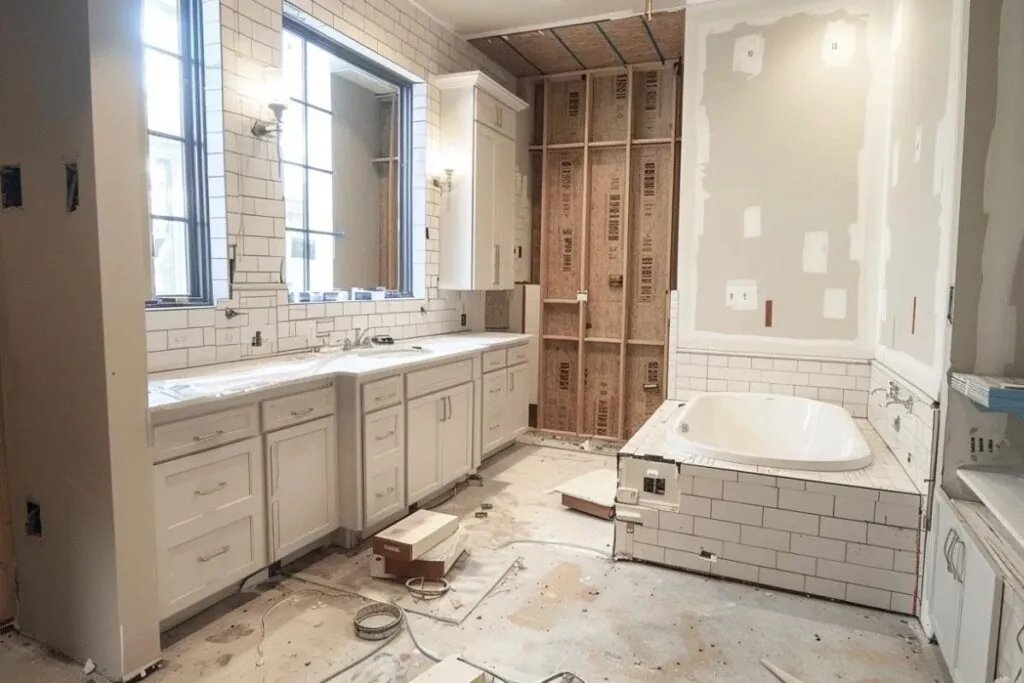
Next, position the vanity and connect the plumbing to the sink faucet and drain. Double-check that all fittings are tight and properly sealed to avoid leaks. This is also the time to test water flow and drainage to ensure everything functions as intended.
Secure plumbing is essential for these fixtures to work efficiently long-term. Proper installation prevents future issues like leaks or uneven fixtures, giving you a functional and polished bathroom.
Step 7: Adding Final Touches and Accessories
The final touches bring your bathroom remodel to life. Start by installing a mirror that complements your vanity and enhances the space’s brightness. Add proper lighting fixtures, such as sconces or overhead lights, to ensure functionality and ambiance.
Do not overlook ventilation—a good exhaust fan is crucial for controlling moisture and maintaining air quality. Proper ventilation prevents mold and mildew, protects your investment, and keeps the bathroom fresh. Ensure the fan is correctly installed and positioned for optimal airflow.
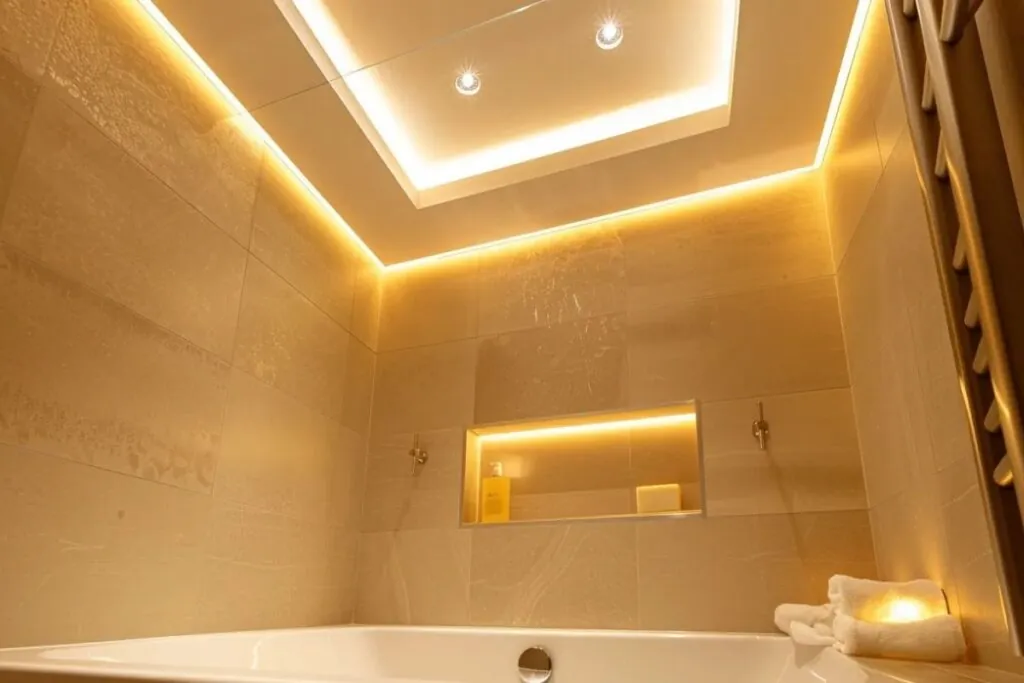
With these details in place, your bathroom becomes a complete, polished space. Accessories like towel bars and shelves add practicality while tying your design together. The final little touches are often what make a surprising impact on the final look and feel of the bathroom space.
Related Post: How Long Does a Bathroom Remodel Take: Understanding the Timeline
Choosing the Right Professional Installer for Your Bathroom Remodel
Hiring the right professional can make or break your bathroom remodel. Look for experienced contractors who specialize in bathroom renovations and have positive reviews. A skilled installer ensures your project runs smoothly, stays on budget, and meets local building codes.
Ask potential installers about their credentials, timeline, and past projects. Clear communication is key—choose someone who listens to your ideas and offers practical solutions. Do not hesitate to get multiple quotes to find a contractor who fits your budget and vision. For further inquiries or to start a discussion on your project, feel free to contact Elevare Builders.
Working with a reliable professional saves time, reduces stress, and ensures high-quality results. Their expertise can turn your dream bathroom into a functional and beautiful reality. Let the local pros lend a helping hand and show you how to get a bathroom that can be everything you have ever wanted and dreamt of. Get started today!
Frequently Ask Questions
What is the first thing to do in a bathroom remodel?
The first step in a bathroom remodel is assessing your current layout and identifying areas that need improvement. Focus on the wet area first, as it often requires structural updates, plumbing repairs, or waterproofing to prevent future problems.
What is a realistic budget for a bathroom remodel?
A realistic budget depends on the scope of the project, the materials used, and the labor costs. On average, bathroom remodels range from $10,000 to $25,000, with smaller projects costing less. Setting a clear budget upfront helps prioritize spending.
What adds the most value to a bathroom?
Upgrades like energy-efficient fixtures, a modern vanity, improved lighting, and a walk-in shower add the most value. High-quality materials and timeless designs enhance both functionality and resale appeal.
What color bathroom sells the most?
Neutral colors like whites, greys, and soft beiges tend to appeal to buyers the most. These shades create a clean, modern look and make the space feel brighter and more spacious.
How can I make my bathroom look expensive?
Incorporate high-end finishes like marble or quartz countertops, stylish lighting fixtures, and framed mirrors. Add luxurious touches such as heated flooring, glass shower doors, and coordinated hardware for a polished, upscale appearance.


